
Random Color Generator with React
A quick tutorial on building a Random Color Generator

Blog post by Madillus - Published at 10/6/2022, 9:25:49 AM
Random Color Generator tutorial with React
Welcome to my first tutorial. This was one of the first apps I created when I started to code. Everything was new to me then. Javascript, React, etc. React was also quite tricky as class components were still popular and the React documentation was not updated to the current hook-based system.
First of all, let’s see what we will be building. It's a simple random color generator. You can visit it here https://heroic-jelly-ebfdd7.netlify.app/
We will be using one node package today called random color https://www.npmjs.com/package/randomcolor
So lets get started.
Firstly, you will need to have node installed. You can check this in the command line by typing
The dollar sign just signifies that you are in the terminal and it is not needed to be typed.
$ node -v
If it is installed you will get a version number, if not go to https://nodejs.org/en/download/ and follow the instructions.
Next up, you will need a code editor, and I would recommend VSCode, which can be downloaded here https://code.visualstudio.com/.
I will be using Vite ( Pronounced Veet ) for this project since it is small. Vite is a front-end build tool. Alternatively you can use Create react app but it is overkill for this.
Open your terminal of choice. I will be using Hyper. https://hyper.is/
$ npm create vite@latest
This will run you through a series of options, first asking you for a project name and then what JavaScript framework/library you would like to use. You get to choose from Vanilla JS, Vue, React, Preact, Lit, and Svelte. For this, we will be using React. Then it will ask you to select either Javascript or Typescript. Select Javascript.
Next cd ( this means change directory and you follow it by a space and your directory name ) into your directory. I then like to open it using
$ code .
VSCode will subsequently open and we can open the terminal inside it using CTRL and '
Next in the terminal for VSCode type
$ npm install
This will take a moment as it installs all the necessary dependencies that we need.
and now we can type
$ npm run dev
This will open a page (localhost) in your default browser where you will see the base project that Vite provides. Back to VSCode, we will navigate to the src folder and App.jsx. We can see the template that Vite provides with their logo and a simple counter function. We will be deleting most of this so we can just start with a base component.
import './App.css';

function App() {
  return <div className="App">Hello</div>
}

export default App
In the localhost in your browser you should simply see Hello. As I said we will be using a package called randomcolor whose documents and info can be found https://www.npmjs.com/package/randomcolor
$ npm i randomcolor
and now we will import at the top of the file.
Let’s think about how we want our app to look. There will be a h1 tag with the title, a h2 tag with the color in hexadecimal form. Two select tags, one containing the array of options for the color and the other the options for the luminosity. We also want a button to randomize the color and one to copy the current color to the clipboard
This is all done after the return statement. lets have a look.
import './App.css';
import randomColor from 'randomcolor';

function App() {
  return (
    <div className="App">
      <h1>Random Color Generator</h1>

      <h2>This will be your hex code</h2>

      <div className="container">
        <form>
          <select name="hue">HUE</select>
          <select name="luminosity">LUMINOSITY</select>
        </form>
      </div>

      <div className="btn-container">
        <button>RANDOMIZE</button>
        <button>COPY COLOR</button>
      </div>
    </div>
  )
}

export default App
In localhost it should look something like this
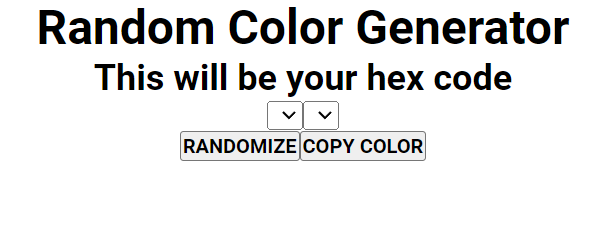
Very basic I know, but this is just the start. Next we need to add some functionality. The randomcolor package lets us call a function called randomcolor ( ) and with this it will simply get a random color returned as a hex value. This package also lets you pass up to 6 options. Such as format to return values in differing color formats or count, which takes an integer and returns said number of colors. For our purpose though we will be only using hue and luminosity.
We will make 2 arrays one with our colors and the other with our luminosity.
const hue = [
    'random',
    'red',
    'blue',
    'green',
    'orange',
    'monochrome',
    'pink',
    'yellow',
    'purple',
  ]
  const luminosity = ['random', 'light', 'dark', 'bright']
Now we will add some basic styling. I will go into the App.css file and add something I add to all projects. The font is optional and you can choose as whichever font you like.
@import url('https://fonts.googleapis.com/css2?family=Roboto:ital,wght@0,700;1,900&display=swap');
*,
*::before,
*::after {
  box-sizing: border-box;
  margin: 0;
  padding: 0;
  font-family: 'Roboto', sans-serif;
}
This removes all padding and margin from the root/html of the project and gives you a base that is not getting weird results. Also we will add a little more CSS in JSX to our App component.
<div
      className="App"
      style={{
        minWidth: '100vw',
        minHeight: '100vh',
        backgroundColor: `${color}`,
        display: 'flex',
        justifyContent: 'center',
        alignItems: 'center',
        flexDirection: 'column',
      }}
    >
This centers everything and gives the app component a width and a height of whatever the screen allows. Now we will add some functionality so that the background color becomes dynamic.
We will import the useState and useEffect hooks from react.
useState is a Hook that allows you to have state variables in functional components. You pass the initial state to this function and it returns a variable with the current state value (not necessarily the initial state) and another function to update this value.
useEffect(callback, dependencies) is the hook that manages the side-effects in functional components. Callback argument is a function to put the side-effect logic. dependencies is a list of dependencies of your side-effect: being props or state values.
We will have a color with an initial state. There will also be two more state variables for the hue and the luminosity. This will go above the return statement and under our arrays. The top of your file should look something like this.
import './App.css';
import randomColor from 'randomcolor';
import { useEffect, useState } from 'react';

function App() {
  const hue = [
    'random',
    'red',
    'blue',
    'green',
    'orange',
    'monochrome',
    'pink',
    'yellow',
    'purple',
  ]
  const luminosity = ['random', 'light', 'dark', 'bright']
  const [color, setColor] = useState(randomColor('random', 'random'))
  const [hueColor, setHueColor] = useState(hue[0])
  const [lum, setLum] = useState(luminosity[0])

  useEffect(() => {
    setColor(randomColor({ hue: hueColor, luminosity: lum }))
  }, [hueColor, lum])
Our app currently only changes color when we refresh the page. The useEffect here sets our color and updates when we change the hue or luminosity. So now the next step we need to create some functions. We will need 2 functions; one for the hue change and one for the luminosity change.
 const handleHueChange = (e) => {
    const newHue = e.target.value
    setHueColor(newHue)
  }

  const handleLumChange = (e) => {
    const newLum = e.target.value
    setLum(newLum)
  }
These need to be passed to our Select tag with a map function inside for the options ( The differing values in our Arrays ).
      <div className="select-container">
        <form>
          <select
            name="hue"
            value={hueColor.value}
            onChange={(e) => handleHueChange(e)}
          >
            {hue.map((hue, idx) => (
              <option key={idx}>{hue}</option>
            ))}
          </select>
        </form>
        <form>
          <select
            name="luminosity"
            value={lum.value}
            onChange={(e) => handleLumChange(e)}
          >
            {luminosity.map((lum, idx) => (
              <option key={idx}>{lum}</option>
            ))}
          </select>
        </form>
      </div>
Our App now has almost all it's functionality. Just the randomize and copy color are left.
   <div className="button-container">
        <button
          className="glow-on-hover "
          onClick={() =>
            setColor(randomColor({ hue: hueColor, luminosity: lum }))
          }
        >
          randomize
        </button>
        <button
          className="glow-on-hover "
          onClick={() => navigator.clipboard.writeText(color)}
        >
          Copy Color
        </button>
      </div>
This brings everything all together and your whole component should look like this.
import './App.css';
import randomColor from 'randomcolor';
import React, { useEffect, useState } from 'react';

export default function App() {
  const hue = [
    'random',
    'red',
    'blue',
    'green',
    'orange',
    'monochrome',
    'pink',
    'yellow',
    'purple',
  ]
  const luminosity = ['random', 'light', 'dark', 'bright']
  const [color, setColor] = useState(randomColor('random', 'random'))
  const [hueColor, setHueColor] = useState(hue[0])
  const [lum, setLum] = useState(luminosity[0])

  useEffect(() => {
    setColor(randomColor({ hue: hueColor, luminosity: lum }))
  }, [hueColor, lum])

  const handleHueChange = (e) => {
    const newHue = e.target.value
    setHueColor(newHue)
  }

  const handleLumChange = (e) => {
    const newLum = e.target.value
    setLum(newLum)
  }

  return (
    <div
      className="App"
      style={{
        minWidth: '100vw',
        minHeight: '100vh',
        backgroundColor: `${color}`,
        display: 'flex',
        justifyContent: 'center',
        alignItems: 'center',
        flexDirection: 'column',
      }}
    >
      <h1>Random Color Generator</h1>
      <h2> {color} </h2>

      <div className="select-container">
        <form>
          <select
            name="hue"
            value={hueColor.value}
            onChange={(e) => handleHueChange(e)}
          >
            {hue.map((hue, idx) => (
              <option key={idx}>{hue}</option>
            ))}
          </select>
        </form>
        <form>
          <select
            name="luminosity"
            value={lum.value}
            onChange={(e) => handleLumChange(e)}
          >
            {luminosity.map((lum, idx) => (
              <option key={idx}>{lum}</option>
            ))}
          </select>
        </form>
      </div>
      <div className="button-container">
        <button
          className="glow-on-hover "
          onClick={() =>
            setColor(randomColor({ hue: hueColor, luminosity: lum }))
          }
        >
          randomize
        </button>
        <button
          className="glow-on-hover "
          onClick={() => navigator.clipboard.writeText(color)}
        >
          Copy Color
        </button>
      </div>
    </div>
  )
}
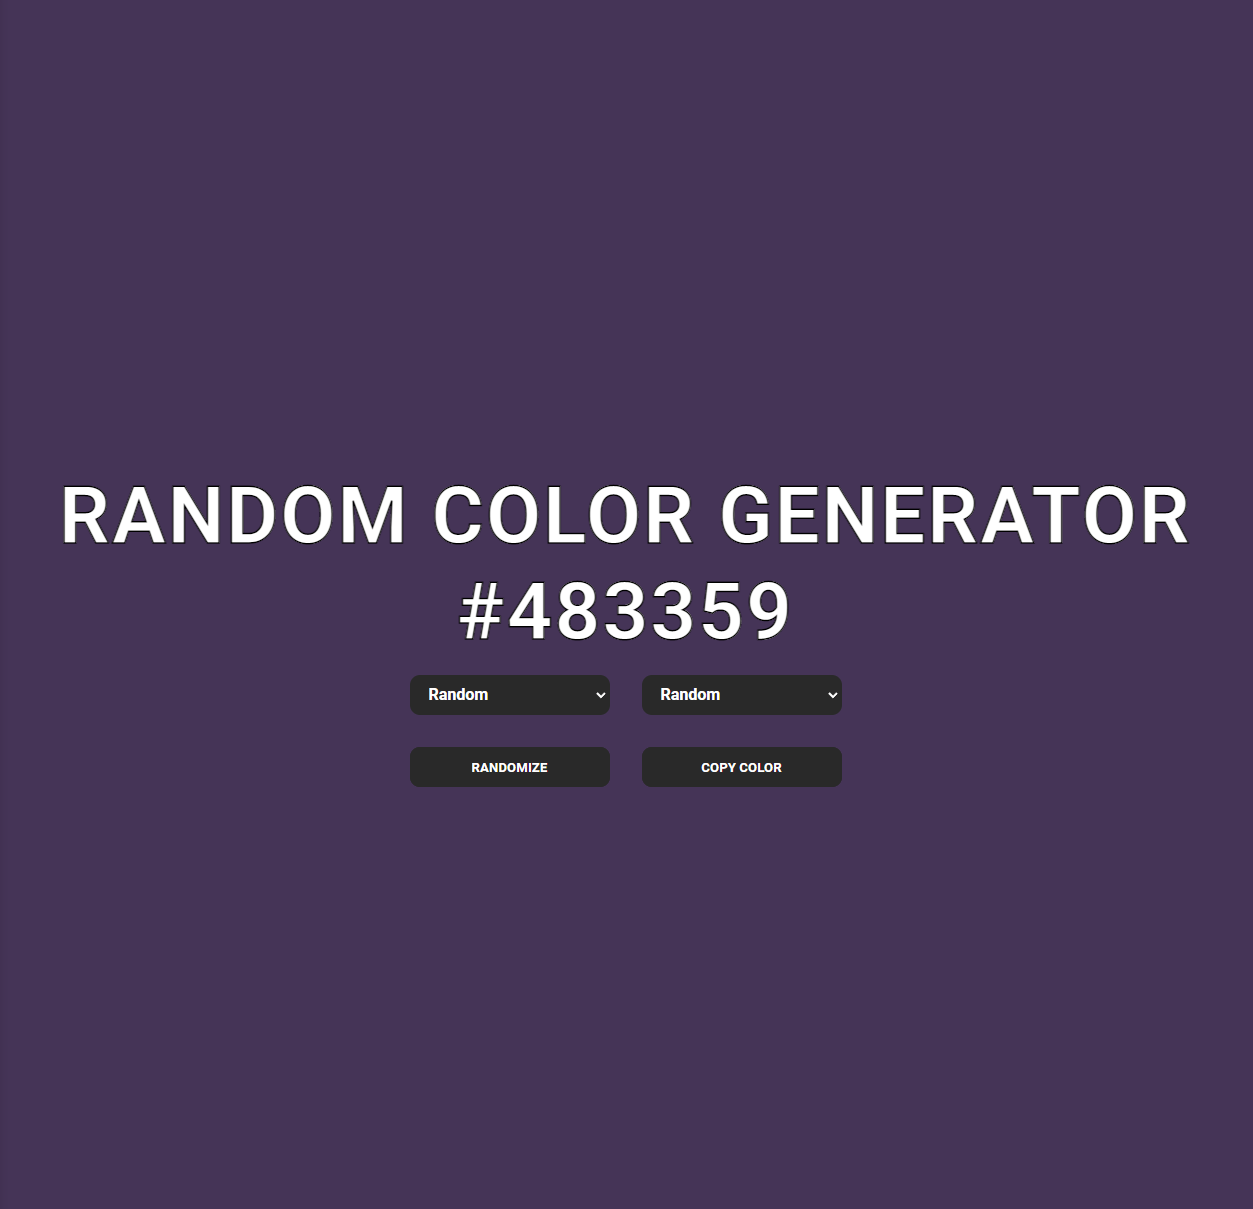
All that's left is to add some styling. Which I won't explain and you can change it up to what suits you. All that I will say is that you have to be careful that your text is always readable.
@import url('https://fonts.googleapis.com/css2?family=Roboto:ital,wght@0,700;1,900&display=swap');
*,
*::before,
*::after {
  box-sizing: border-box;
  margin: 0;
  padding: 0;
  font-family: 'Roboto', sans-serif;
}

h1 {
  text-align: center;
  font: 600 80px 'Roboto';
  -webkit-text-fill-color: #fff;
  -webkit-text-stroke: 1.5px;
  letter-spacing: 2px;
  text-transform: uppercase;
}

h2 {
  font: 600 80px 'Roboto';
  -webkit-text-fill-color: #fff;
  -webkit-text-stroke: 1.5px;
  letter-spacing: 2px;
  text-transform: uppercase;
}

.select-container {
  position: relative;
  display: flex;
  align-items: center;
  justify-content: center;
  flex-direction: row;
}

select {
  position: relative;
  width: 200px;
  height: 40px;
  border-radius: 10px;
  border: none;
  text-transform: capitalize;
  color: #fff;
  background: #292929;
  text-align: left;
  padding: 0 15px;
  margin: 1rem;
  font-size: 16px;
  cursor: pointer;
}

select::after {
  content: '';
  position: absolute;
  right: 20px;
  top: 50%;
  transform: translateY(-50%) rotate(45deg);
  width: 6px;
  height: 6px;
  border-right: 2px solid #fff;
  border-bottom: 2px solid #fff;
  border-radius: 3px;
}

button:focus {
  outline: 1px solid #fff;
}

.button-container {
  position: relative;
  display: flex;
  align-items: center;
  justify-content: center;
  flex-direction: row;
}

.glow-on-hover {
  width: 200px;
  height: 40px;
  border: none;
  outline: none;
  color: #fff;
  background: #292929;
  cursor: pointer;
  position: relative;
  z-index: 0;
  border-radius: 10px;
  margin: 1rem;
  text-transform: uppercase;
}

.glow-on-hover:before {
  content: '';
  background: linear-gradient(
    45deg,
    #ff0000,
    #ff7300,
    #fffb00,
    #48ff00,
    #00ffd5,
    #002bff,
    #7a00ff,
    #ff00c8,
    #ff0000
  );
  position: absolute;
  top: -2px;
  left: -2px;
  background-size: 400%;
  z-index: -1;
  filter: blur(5px);
  width: calc(100% + 4px);
  height: calc(100% + 4px);
  animation: glowing 20s linear infinite;
  opacity: 0;
  transition: opacity 0.3s ease-in-out;
  border-radius: 10px;
}

.glow-on-hover:active {
  color: #292929;
}

.glow-on-hover:active:after {
  background: transparent;
}

.glow-on-hover:hover:before {
  opacity: 1;
}

.glow-on-hover:after {
  z-index: -1;
  content: '';
  position: absolute;
  width: 100%;
  height: 100%;
  background: #292929;
  left: 0;
  top: 0;
  border-radius: 10px;
}

@keyframes glowing {
  0% {
    background-position: 0 0;
  }
  50% {
    background-position: 400% 0;
  }
  100% {
    background-position: 0 0;
  }
}
I hope you enjoyed my first blog post. Happy Coding...